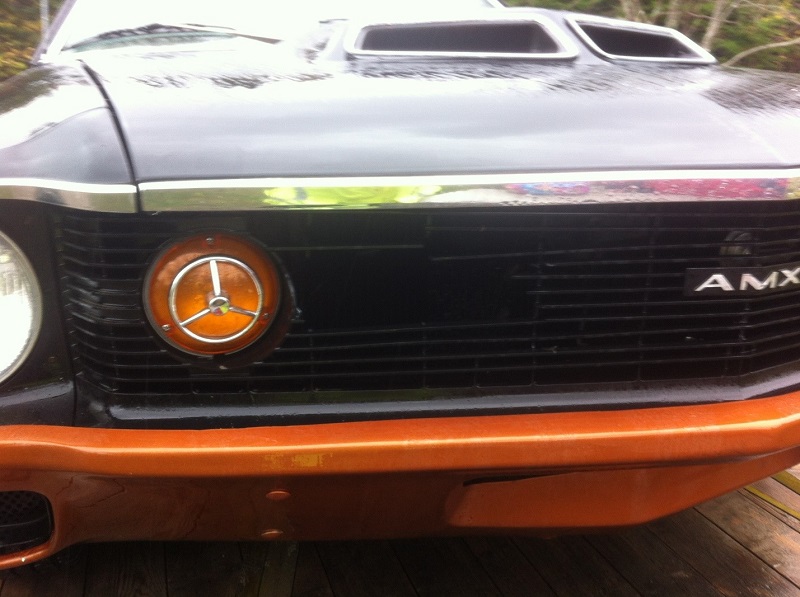
As most of you already know, I had a partridge punch through my NOS grille on the trailer ride back home to Cape Breton. The car arrived back home on Nov. 19, see the 1st picture while it is still on the car hauler. Notice the gaping hole on the left side of the grille. Wilson was kind enough to transport the dead partridge as well, I know he really felt bad about it. I was to go up to his place in Margaree, about a two hour drive, when he called and said he would bring it down in the morning. At that time I didn’t know about the wee accident, I guess he wanted to deliver the bad news in person.
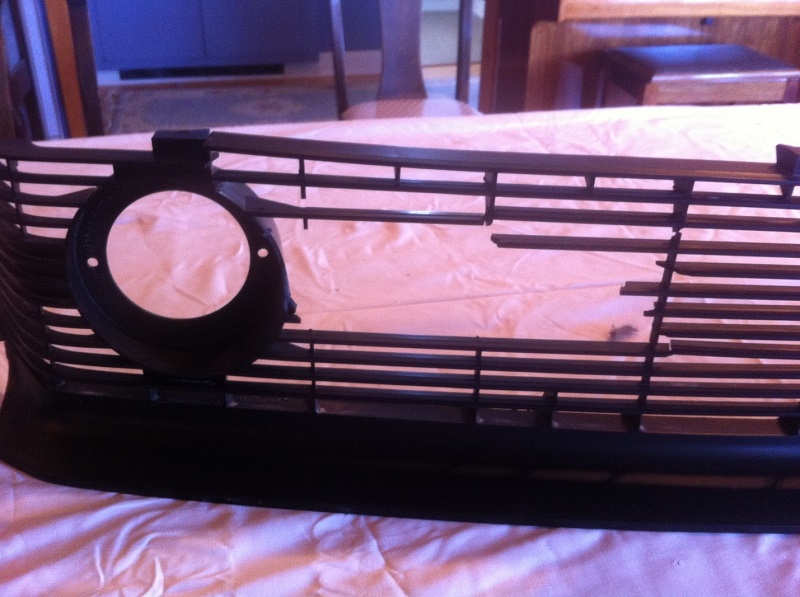
I felt bad about it happening, but not nearly as bad as the cat picking at my newly upholstered bucket seats. Such is life, you learn to live with it. A new NOS grille would run me about $1500.00 dollars if I could find one, so I decided to go the repair route. I went online to garner any info I could on grille repair. After getting all the information I needed, I was ready to proceed. I ordered an adhesive called Q-Bond off of ebay. When it arrived I was anxious to get started. I didn’t have any of the broken parts so I had to reconstruct everything from scratch. I decided that I would use wood lats to replace the plastic that was missing. They were cut on the table saw, ½ inch by 1/8 . After getting the grille out of the car and into the house on our dining room table, I was ready to proceed. See the 2nd picture.
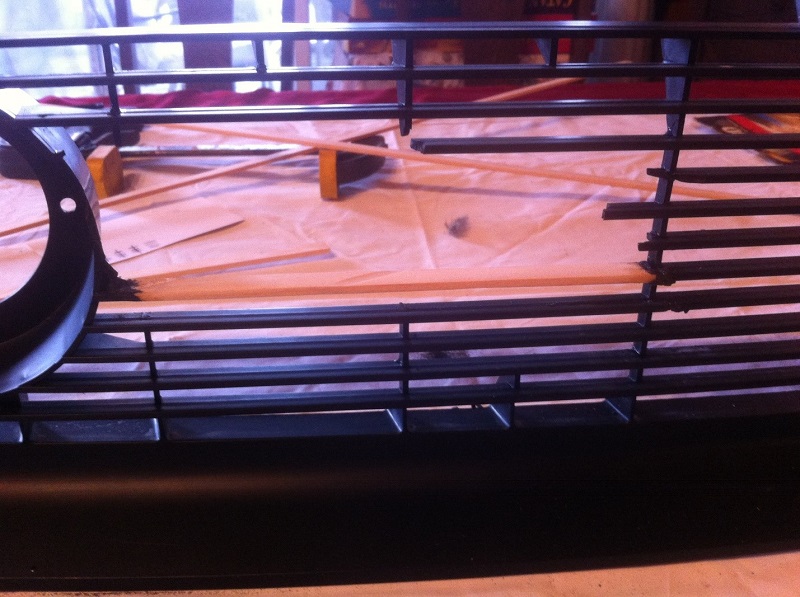
Before I started, I counted the number of breaks in the grille, not including the partridge hole, it was 29. It flopped around like chicken wire. I decided to proceed one break at a time, just like eating an elephant, one spoonful at a time. Got the two main girders fused at the top left corner - this stiffened it up quite a bit. The 3rd picture was with the first wood lat glued in. As you can see, the dining room table is starting to get a little messy. (Editor's Note: I'm sure his wife, Donna, wasn't too pleased about the grille spending more time at the dining room table than they did!)
There was about three inches missing from the parking light pot that I had to reconstruct using duct tape as a dam, a little at a time. This was the most time consuming.
Well, to make a long story short, 25 hours later and much sanding, the job was complete. Learned a lot doing this little project. Put the grille back into the car this afternoon, Feb. 9.
The final picture is of the finished product.